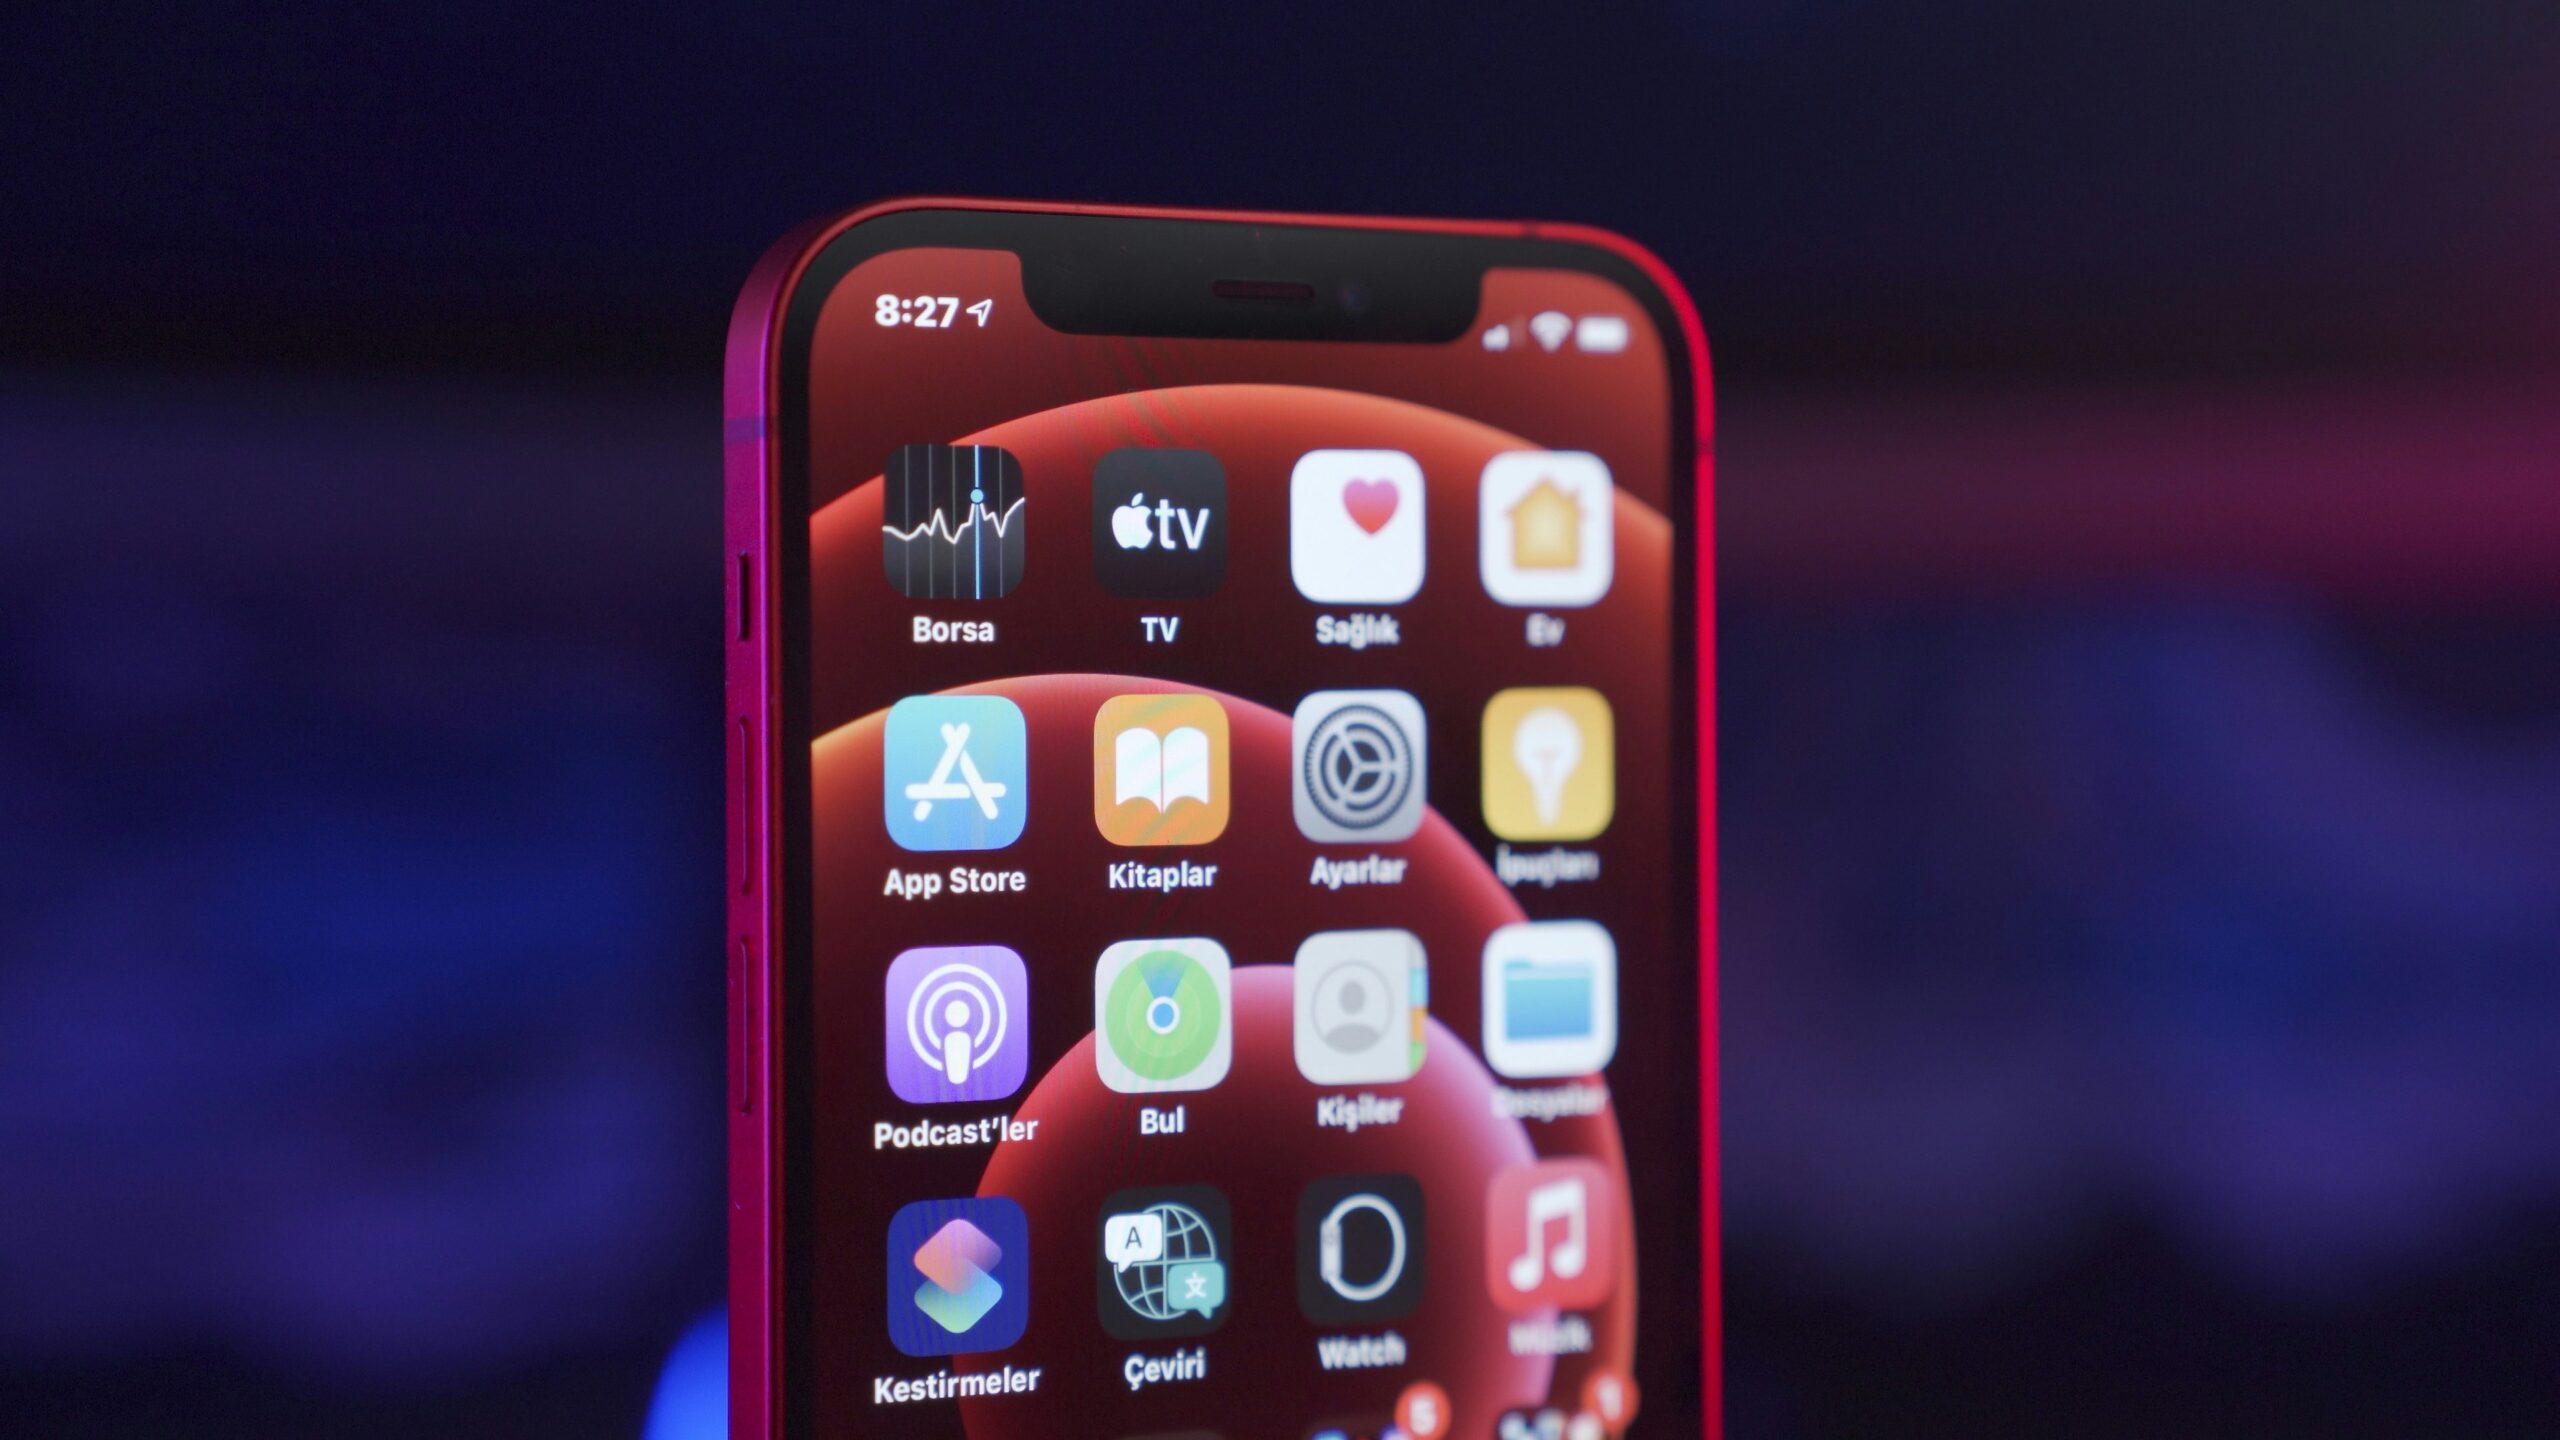
How to Screen Record on iPhone 16
The iPhone 16 being the latest from Apple assures everyone that screen recording is available for anyone to use. Step by step, here:
Turn On Screen Recording
- Settings App
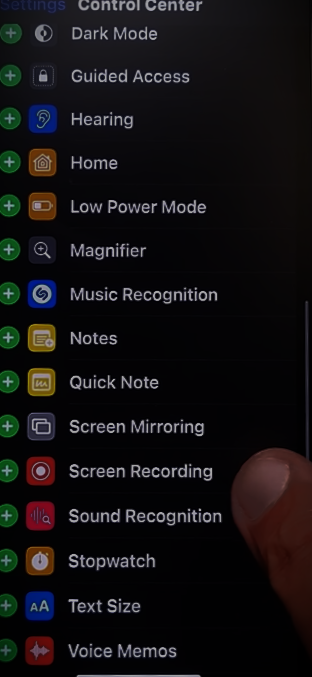
Open settings app on your iPhone 16. - Control Center
Look for Control Center. - Scroll down and see Screen Recording option and tap on the green “+” icon to add it.
Access the Control Center
- Control Center
- Swipe from top-right corner of the screen to open the control center.
Recording
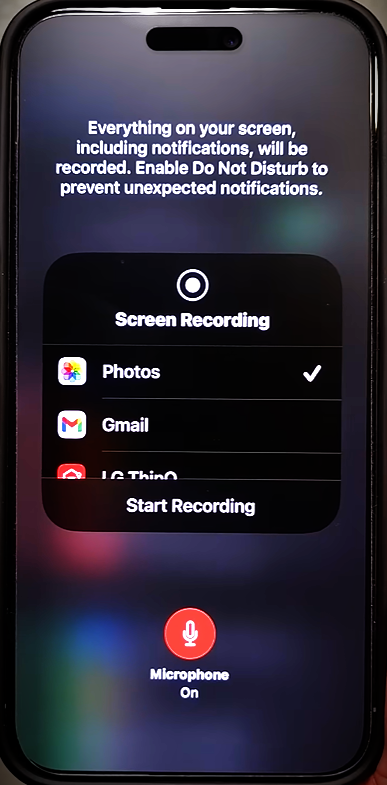
- Tap the round Screen Record button. A three-second countdown will appear, and the recording will begin.
- If you wish to capture audio as well, tap and hold the Screen Record icon, then turn the microphone on.
Stop Recording
- To end the recording, tap the red status bar at the top of the screen and select Stop.
- Alternatively, go back to the Control Center and tap the Screen Record button again.
- Your recorded video will be saved in the Photos app, ready to share or edit.
How to Screen Record on iPhone 15
The iPhone 15 screen recording is almost the same as with the iPhone 16. Here are the steps:
- Settings > Control Center > Add to Control Center the Screen Recording function.
- Swipe down from top right to open the Control Center.
- Tap the Screen Record button to start recording. Make use of the microphone option too by holding the icon while starting.
- Stop recording by tapping the red status bar or the Screen Record icon in the Control Center.
This method ensures a seamless recording experience on your iPhone 15.
How to Screen Record on iPhone 14
If you have an iPhone 14, then you can screen record as easily as that. Just do this:
- Add Screen Recording to your Control Center from Settings > Control Center.
- Then open the Control Center by swiping down from the top-right corner.
- Now tap the round recording button to start. To capture audio, tap and hold on the icon to activate the microphone.
- When done, tap the red status bar or go back to the Control Center and stop the recording.
Your screen recording will be saved automatically in your Photos app.
How to Screen Record on iPhone 13
Here’s how to screen record on iPhone 13:
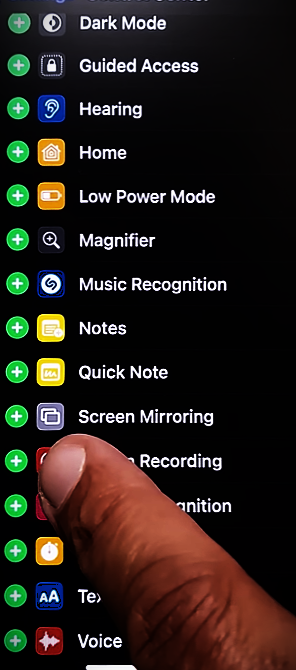
- Prepare the Control Center: Go to Settings, select Control Center, and add the Screen Recording feature.
- Access Control Center: Swipe down from the top-right corner of the screen.
- Start Recording:
- Tap the screen recording icon. A countdown will appear before the recording begins.
- For audio, press and hold the icon and toggle the microphone on.
4. Stop Recording: Tap the red bar at the top or go back to the Control Center to stop the recording.
This is the simplest way to record and save anything on your screen.
How to Screen Record on iPhone 12
To screen record on an iPhone 12, the process is as intuitive as on other models:
- Add Screen Recording to Control Center through Settings.
- Swipe down from the right side at the top of the screen to open the Control Center.
- Tap the recording icon to begin capturing your screen. Enable the microphone if you want to include audio.
- Tap the red bar or the Control Center icon to stop recording.
Your recording will be available in the Photos app for viewing and editing.
How to Screen Record on iPhone 11
Screen Recording is also available for use with the iPhone 11. This is what to do:
- Access Settings > Control Center and add Screen Recording.
- Swipe down from top right to access Control Center.
- Tap the button used for screen recording. Hold that icon to activate your device’s microphone if required to access quality audio.
- Stop your recordings either via the red status at the top of the interface, or by using Control Center.
This way you might record great quality effortlessly and with less hassle.
How to Screen Record on iPhone 8
It takes some slight variations with iPhone 8 because it lacks a swipe gesture from the top-right corner:
- From Settings > Control Center add Screen Recording option.
- Swiping up from the bottom to access Control Center.
- Tap on the record icon to record. To record audio tap hold the icon to enable the microphone.
- Tap the red bar at the top or go back to the Control Center to stop recording.
Your recording will save directly in the Photos app.
How to Screen Record on iPhone 7
It does this recording on the iPhone 7, provided with a minimum of iOS 11. It’s done as follows:
- iPhone 7 should have been updated to iOS 11 or later.
- Add Screen Recording to your Control Center from Settings.
- Swipe up from the bottom of the screen to access the Control Center.
- Tap the Screen Record button and wait for the countdown.
- Tap the red bar to stop the recording, or go back to the Control Center.
This feature works perfectly once set up.
How to Screen Record on iPhone 6
Unlike the latest models, the iPhone 6 does not have a native screen recording feature because it cannot run iOS 11 or later. You can use these alternatives instead:
- Recording with QuickTime Player on Mac
- Connect your iPhone 6 to a Mac using a Lightning cable.
- Open QuickTime Player on the Mac.
- Go to File > New Movie Recording and select your iPhone as the camera source.
- Touch record to begin capturing your screen on iPhone.
- Third-party methods:
- You will download from the App Store a dedicated screen recording app such as DU Recorder or AZ Screen Recorder.
- Tap the in-application buttons to record your screen.
- While these techniques do utilize additional software, they seem to work fine on those older models like the one for the iPhone.
Conclusion
Recording the screen on an iPhone is an incredibly versatile feature that allows you to capture all sorts of tutorials, gameplay, and more. No matter what model you own, be it the brand-new iPhone 16 or the slightly older iPhone 6, this guide about how to screen record on iPhone walks you through every step in detail for both devices. With a little setup, you’ll save and share your recordings like a pro in no time.

